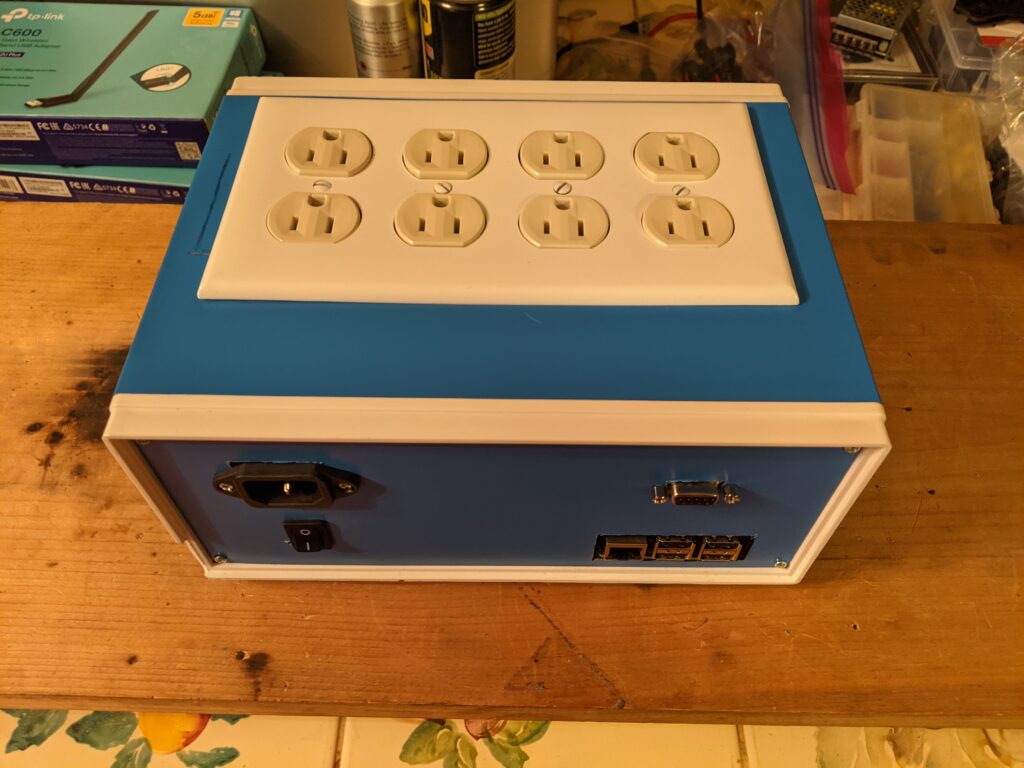
The HACKME Click-O-Tron is a device that we made to allow any computer with a standard RS-232 serial interface to control 16 relays. 8 of the relays are connected to 120 volt AC mains power. The other 8 are not used at this time, but we intend to add 8 more connectors to the top of the box, which will provide an on off state. These relays are connected to a Raspberry Pi.
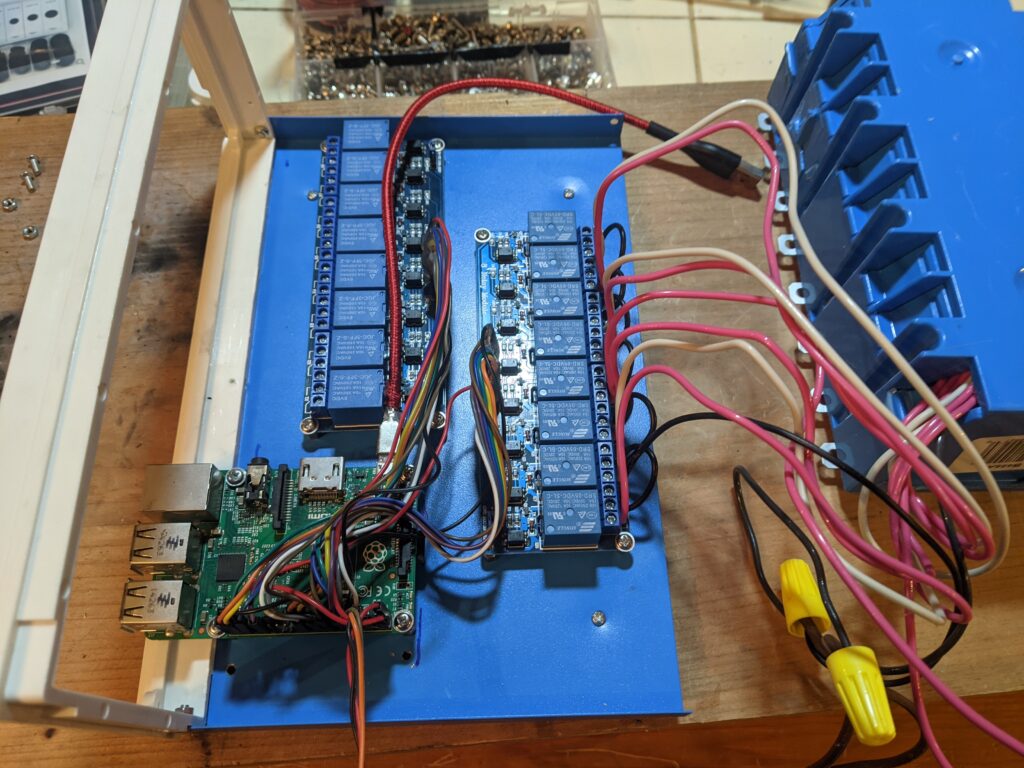
The Raspberry Pi controls the relay boards through a Python script which is available on our github site here. https://github.com/cityxen/HACKME/tree/main/Click-A-Tron So you could build this yourself if you feel like it. The script reads the serial line for 16 characters of 1s and 0s and turns the relays on or off. The script can read the lines in quite fast, so to limit the speed, you’ll need to add your own pause after each line. Here’s an example of what the Click-O-Tron is looking for…
0001000011011011
1010101010101010
0101010101010101
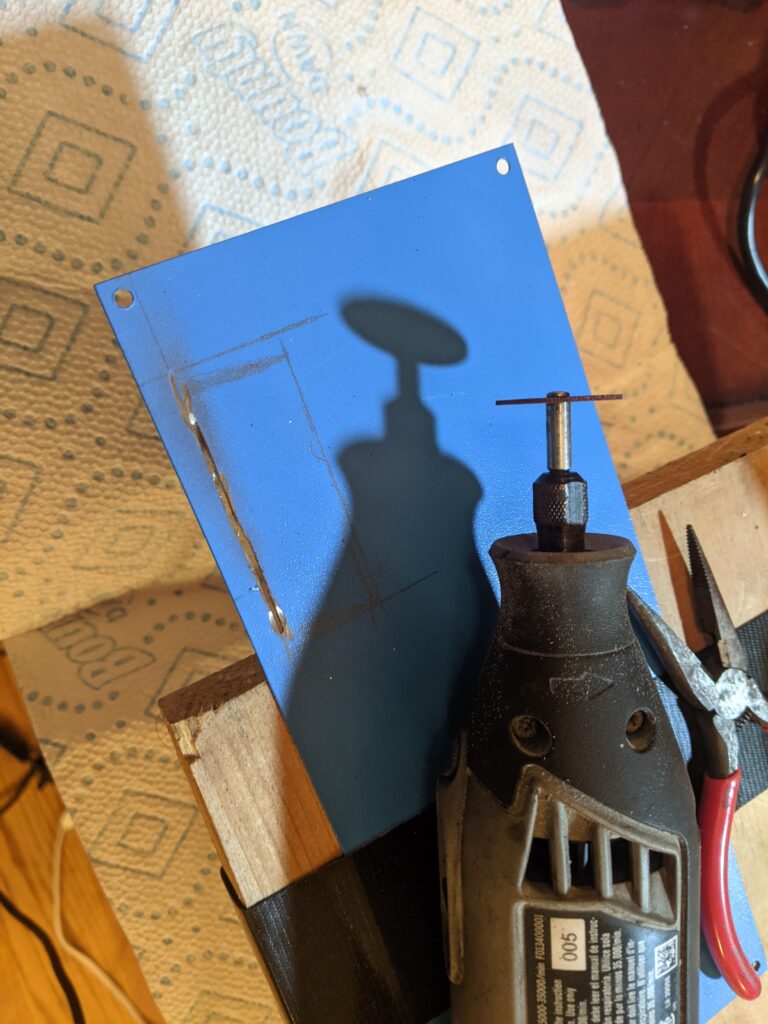
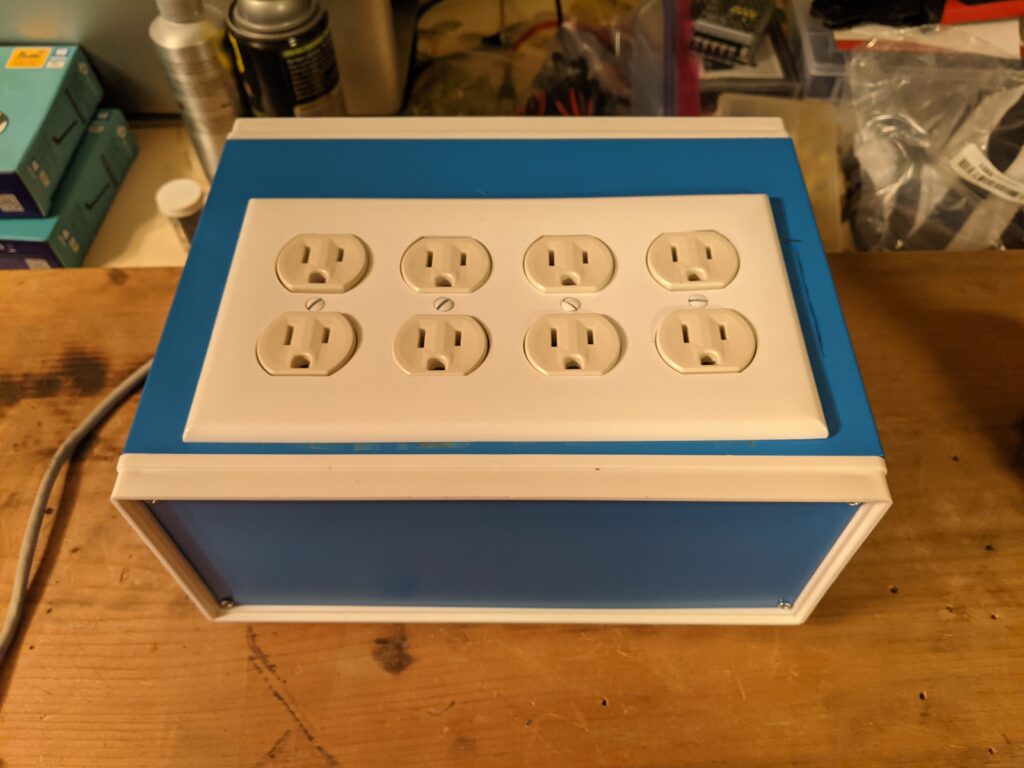
The enclosure that we chose was large enough to accommodate the Raspberry Pi, two 8 channel relay boards, and 4 power outlet gangplank. We took a Dremel to the cover where we needed to to get the interfaces installed.
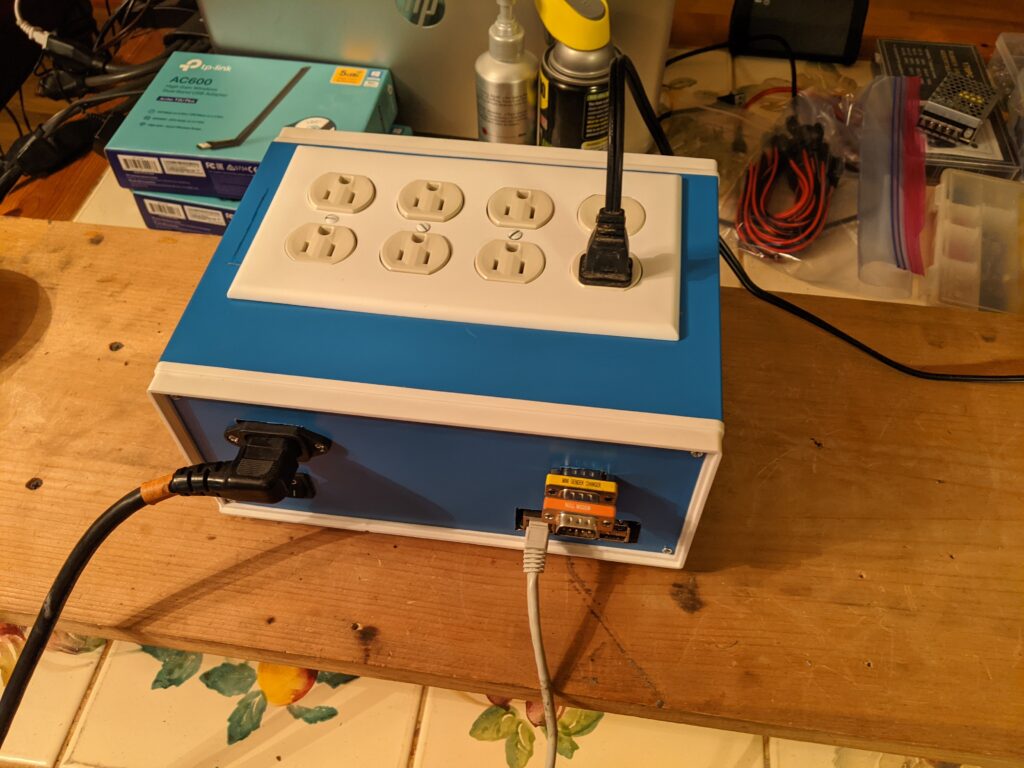
Now some of you may be thinking, “But Deadline, you say there is 16 relays available, but I only see 8 power plug ins!”
This is true. It is not entirely finished. We’re planning on using the other 8 relays as on/off states for devices that have their own low voltage power supplied, such as fairy lights. So stay tuned. We’re also going to make a schematic for the wiring from the Raspberry Pi to the serial and relay boards. Additionally, we’re going to be creating a video specifically about the HACKME Click-O-Tron so keep an eye out for it.
The guts of the Click-O-Tron was used in our Christmas 2019 video, A very Commodore Christmas. Since then, we’ve added the enclosure, but it is essentially the same device. We used the Commodore 64 Relay Tracker on a C64, AND on a C128, and the Click-O-Tron hooked up to an Amiga 500 running the Amiga 500 Relay Tracker version found in the Click-O-Tron github repo. See the video here…
Parts list:
Raspberry Pi 3 (or better)
Serial Port for Raspberry Pi https://amzn.to/3xBtvjj
Blue case https://amzn.to/3KPGgKz
8 Channel Relay Board (2 Pack) https://amzn.to/3vnxblH
4 Gang Power Outlet housing https://amzn.to/3JLVqPT
Power Receptacles https://amzn.to/3JPCJL0
Receptacle cover https://amzn.to/3EgSz02
Power Plug Socket https://amzn.to/3JLWe7n
Wiring (Power)
Wiring (Jumpers)

